通过Docker在群晖上搭建Mastodon
前言:
由于当前国内互联网环境的恶化(微博封禁、饭否审核),而memos的客户端又较为简陋,所以之前一直迫切希望能在群晖上搭建mastodon,但搜遍全网也没有找到方法,于是在尝试过成功后在总结他人成功经验的基础上写了一个较为完整的。
恰好近期twitter出台了单日600条的限制,致使不少网友沦为twitter难民,可以在此了解一下,毕竟数据掌握在自己手中最为安全。
第一步:安装Docker和Git Server
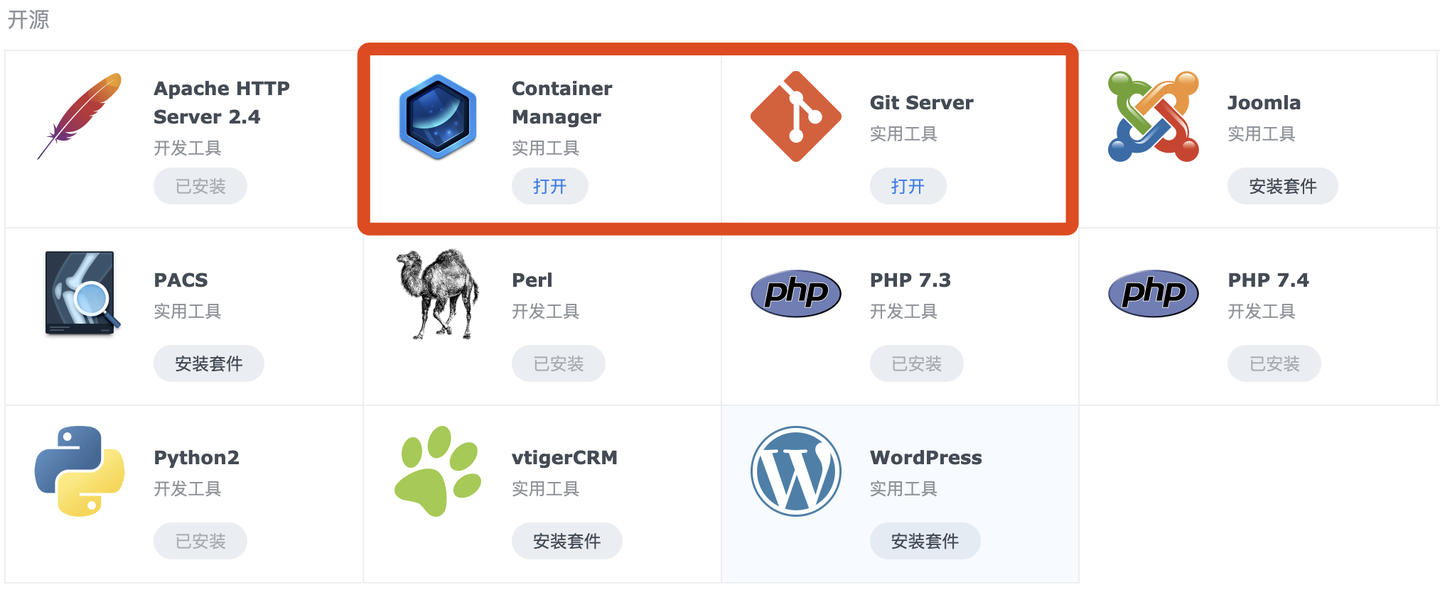
在群晖套件中心安装 Docker(DSM7.2之后叫 Container Mangager)以及 Git Server 套件,此步骤略。
第二步:通过SSH安装Mastodon
1、终端登录群晖后台ssh,获取root权限,进入到群晖docker所在存储空间的文件夹,我的在存储空间1,就是volume1。
sudo -i
cd /volume1/docker
2、拉取mastodon镜像,并在docker文件夹建立mastodon文件夹。
git clone https://github.com/tootsuite/mastodon.git mastodon3、进入到mastodon文件夹,建立必要的文件夹和文件。
cd mastodon
mkdir redis
mkdir postgres
mkdir elasticsearch
mkdir public/system
touch .env.production
4、进入到群晖File Station,修改 docker-compose.yml 文件(右键文本编辑器打开),粘贴如下。
version: '3'
services:
  db:
    restart: always
    image: postgres:15-alpine
    shm_size: 256mb
    networks:
      - internal_network
    healthcheck:
      test: ['CMD', 'pg_isready', '-U', 'postgres']
    volumes:
      - ./postgres:/var/lib/postgresql/data
    environment:
      - 'POSTGRES_HOST_AUTH_METHOD=trust'
  redis:
    restart: always
    image: redis:7-alpine
    networks:
      - internal_network
    healthcheck:
      test: ['CMD', 'redis-cli', 'ping']
    volumes:
      - ./redis:/data
  es:
     restart: always
     image: docker.elastic.co/elasticsearch/elasticsearch-oss:7.10.2
     environment:
       - "ES_JAVA_OPTS=-Xms512m -Xmx512m"
       - "cluster.name=es-mastodon"
       - "discovery.type=single-node"
       - "bootstrap.memory_lock=true"
     networks:
        - internal_network
     healthcheck:
        test: ["CMD-SHELL", "curl --silent --fail localhost:9200/_cluster/health || exit 1"]
     volumes:
        - ./elasticsearch:/usr/share/elasticsearch/data
     ulimits:
       memlock:
         soft: -1
         hard: -1
  web:
    build: .
    image: tootsuite/mastodon
    restart: always
    env_file: .env.production
    command: bash -c "rm -f /mastodon/tmp/pids/server.pid; bundle exec rails s -p 3000"
    networks:
      - external_network
      - internal_network
    healthcheck:
      # prettier-ignore
      test: ['CMD-SHELL', 'wget -q --spider --proxy=off localhost:3000/health || exit 1']
    ports:
      - '0.0.0.0:3000:3000'
    depends_on:
      - db
      - redis
      - es
    volumes:
      - ./public/system:/mastodon/public/system

  streaming:
    build: .
    image: tootsuite/mastodon
    restart: always
    env_file: .env.production
    command: node ./streaming
    networks:
      - external_network
      - internal_network
    healthcheck:
      # prettier-ignore
      test: ['CMD-SHELL', 'wget -q --spider --proxy=off localhost:4000/api/v1/streaming/health || exit 1']
    ports:
      - '0.0.0.0:4000:4000'
    depends_on:
      - db
      - redis

  sidekiq:
    build: .
    image: tootsuite/mastodon
    restart: always
    env_file: .env.production
    command: bundle exec sidekiq
    depends_on:
      - db
      - redis
    networks:
      - external_network
      - internal_network
    volumes:
      - ./public/system:/mastodon/public/system
    healthcheck:
      test: ['CMD-SHELL', "ps aux | grep '[s]idekiq\ 6' || false"]

  ## Uncomment to enable federation with tor instances along with adding the following ENV variables
  ## http_proxy=http://privoxy:8118
  ## ALLOW_ACCESS_TO_HIDDEN_SERVICE=true
  # tor:
  #   image: sirboops/tor
  #   networks:
  #      - external_network
  #      - internal_network
  #
  # privoxy:
  #   image: sirboops/privoxy
  #   volumes:
  #     - ./priv-config:/opt/config
  #   networks:
  #     - external_network
  #     - internal_network

networks:
  external_network:
  internal_network:
    internal: true
5、回到终端安装mastodon。
docker-compose run --rm web bundle exec rake mastodon:setup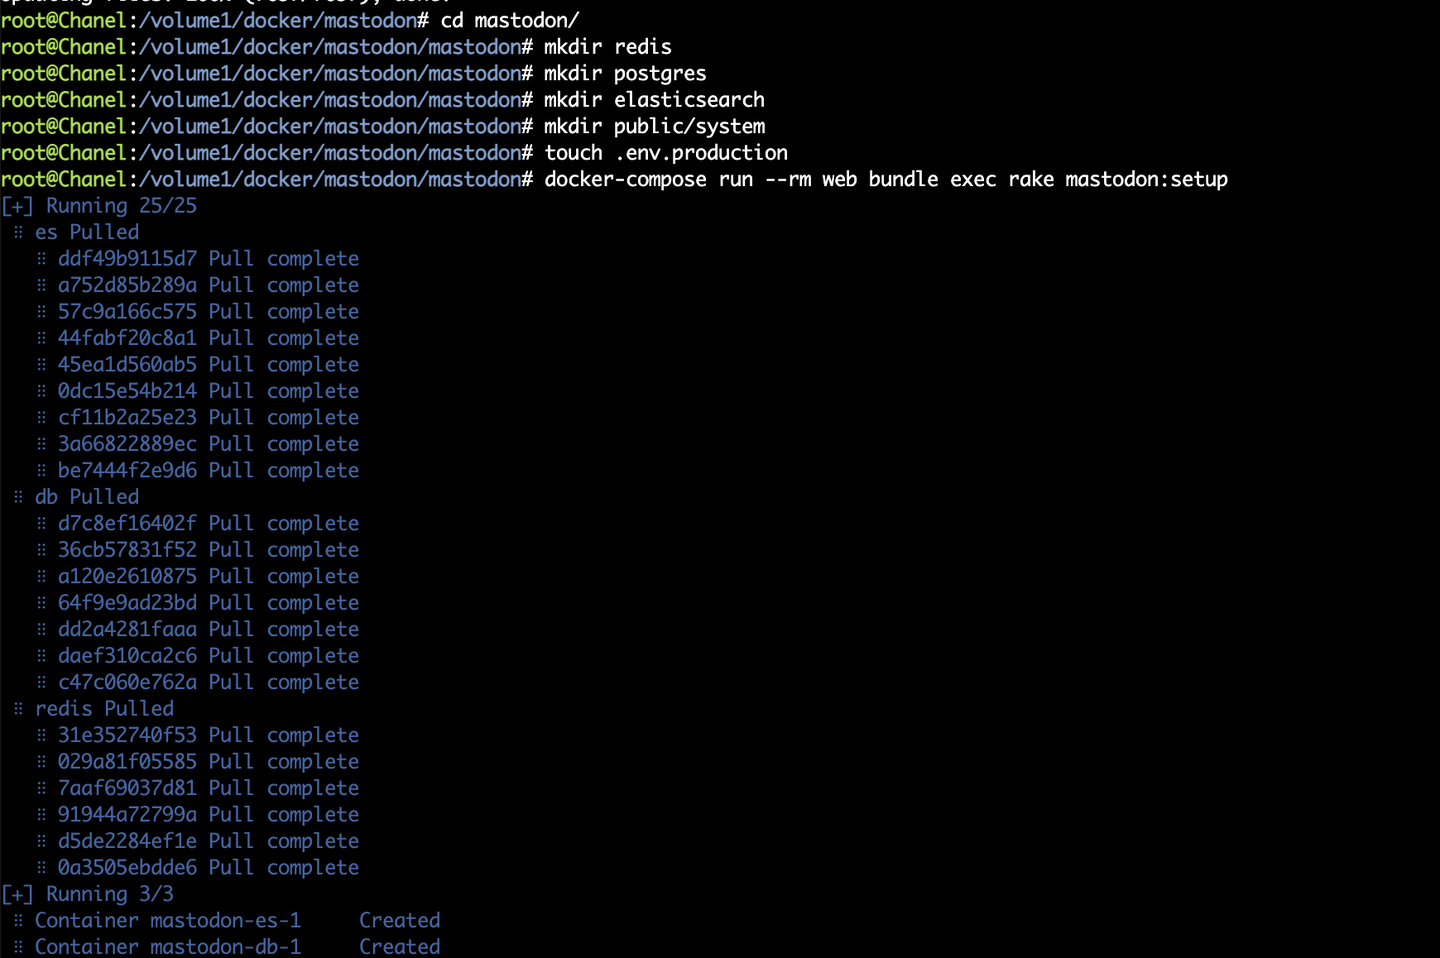
6、填写域名与用于注册管理的邮箱,我用的是网易163邮箱(最好是闲置的邮箱),可以参考如下。
Your instance is identified by its domain name. Changing it afterward will break things.
Domain name: mastodon.lonely.work

Single user mode disables registrations and redirects the landing page to your public profile.
Do you want to enable single user mode? No

Are you using Docker to run Mastodon? Yes

PostgreSQL host: db
PostgreSQL port: 5432
Name of PostgreSQL database: postgres
Name of PostgreSQL user: postgres
Password of PostgreSQL user:
Database configuration works! 🎆

Redis host: redis
Redis port: 6379
Redis password:
Redis configuration works! 🎆

Do you want to store uploaded files on the cloud? No

Do you want to send e-mails from localhost? No
SMTP server: smtp.163.com
SMTP port: 25
SMTP username: smox@163.com
SMTP password:
SMTP authentication: plain
SMTP OpenSSL verify mode: none
Enable STARTTLS: auto
E-mail address to send e-mails "from": smox@163.com
Send a test e-mail with this configuration right now? Yes
Send test e-mail to: xxxxxxxx@qq.com

This configuration will be written to .env.production
Save configuration? Yes
7、将获取到的信息粘贴到 .env.production 文件中,可以在群晖File Station里面重命名该文件,加个.txt后缀,右键文件编辑器进行粘贴,保存后再将.txt后缀删除。
LOCAL_DOMAIN=mastodon.lonely.work
SINGLE_USER_MODE=false
SECRET_KEY_BASE=8489a0e16ba303083ec3c83e7f9366209f61195c9ac01f9623307f01002c8c2659a6ddd0eaf5790e80ad916693a1782e64997b3dbab6681ab1a9fd093b4f18a2
OTP_SECRET=d02e6038fb71351525cdced676d6773eafd42965c45aa302912776722b1eb81d162bc97b876b81bab18c6734737840ff45dbcb02d07a34ac840c6a0e8f22750d
VAPID_PRIVATE_KEY=f51xc46hJS5MK1In_ni1Y7XwY2sSkK0xHHLaXg126Ko=
VAPID_PUBLIC_KEY=BJgOoDUXUMWXuZWQUTpVZH4ldmWCZYmyvv7nsAbH7u23Udl-05xDPhX-RRFXfQRivlxUdRd3XtxgUju2C9b84io=
DB_HOST=db
DB_PORT=5432
DB_NAME=postgres
DB_USER=postgres
DB_PASS=
REDIS_HOST=redis
REDIS_PORT=6379
REDIS_PASSWORD=
SMTP_SERVER=smtp.163.com
SMTP_PORT=25
SMTP_LOGIN=smox@163.com
SMTP_PASSWORD=woshidabendan1953
SMTP_AUTH_METHOD=plain
SMTP_OPENSSL_VERIFY_MODE=none
SMTP_ENABLE_STARTTLS=auto
SMTP_FROM_ADDRESS=smox@163.com
8、通过上述命令添加的管理员可能有问题,没有管理员权限,需要重新新增一个管理员。
docker exec mastodon_web_1 tootctl accounts create andy --email andy@163.com --confirmed --role Owner9、启动服务。
docker-compose up -d第三步:配置反向代理
1、通过群晖控制面板的反向代理服务器,配置反向代理,添加https。
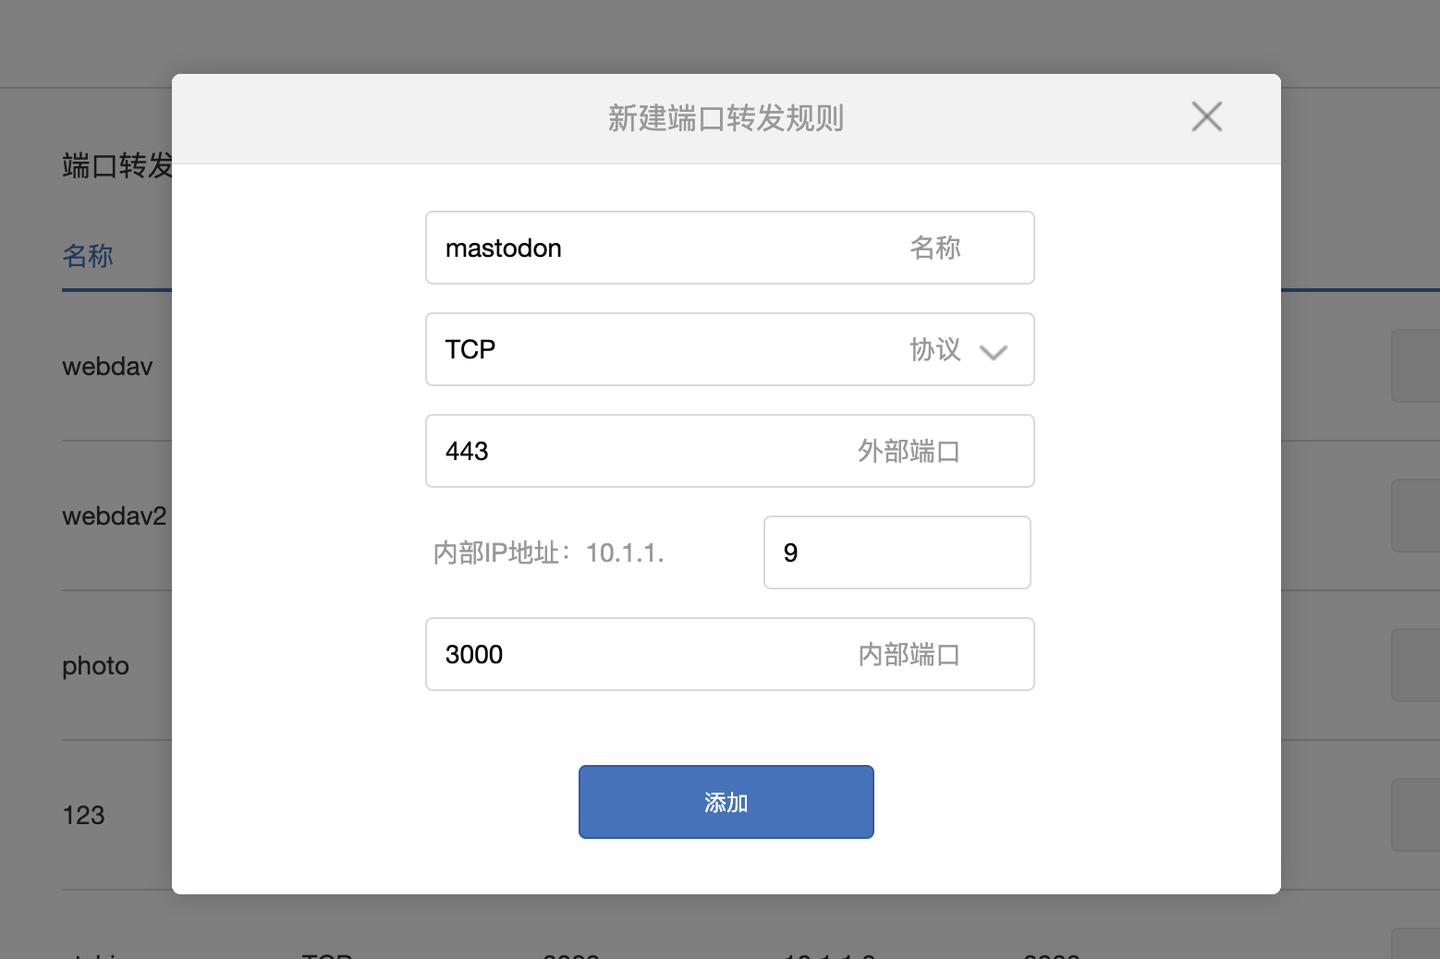
 2、路由器开放外网端口,虽然有公网IP,但由于443端口是被禁用的,所以只能在家里访问。
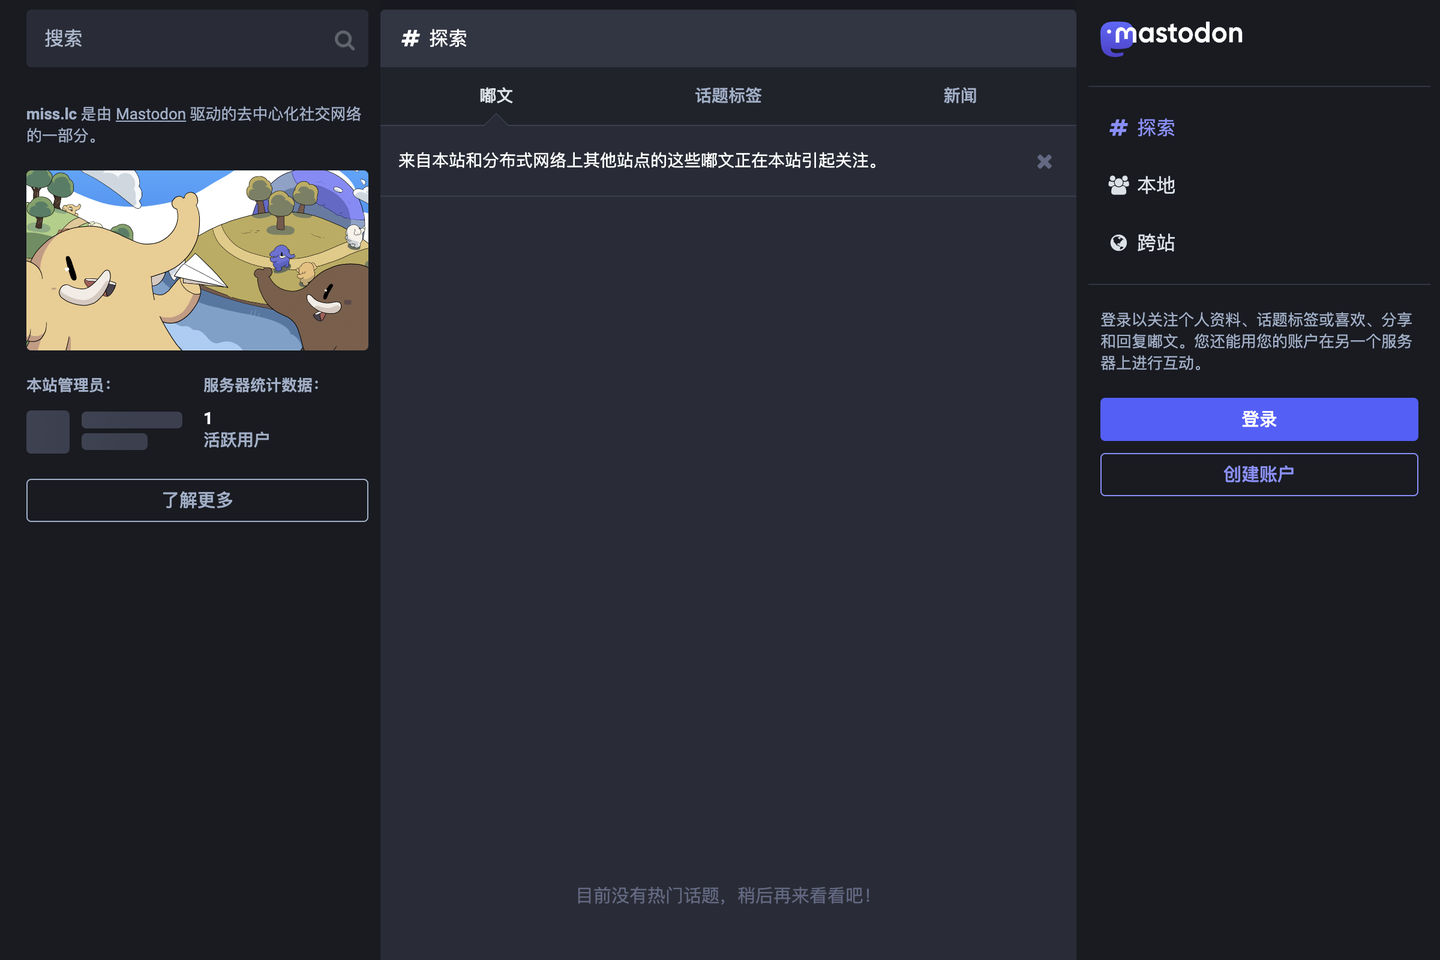
3、访问域名,大功告成,用刚才新增的管理员账号登录可以进行后台管理。
总结:
1、整个过程比较简单,可能是因为太简单了所以互联网上一直没有教程。
2、由于公网IP的443端口被封,且为国内服务器,所以添加中继Relay是一件麻烦的事儿,如果需要外网访问需要更改为其他端口(但是部分手机客户端比如mastodon官方客户端登录就会成为问题,因为只提供443端口登录),只能作为自己记录日常的私密微博来使用。但是客户端众多,比微博还有memos好不是吗?